How to Create a GetResponse Account: A Step-by-Step Guide
If you’re looking to dive into email marketing, GetResponse is a fantastic tool to help you manage your campaigns. In this guide, I’ll walk you through the process of signing up for GetResponse so you can start harnessing its features.
What is GetResponse?
GetResponse is an email marketing platform that offers various features, including autoresponders, landing page creation, and marketing automation. It’s designed to help businesses engage with their audience and increase conversions.
How to Sign Up for GetResponse
Step 1: Accessing the GetResponse Signup Page
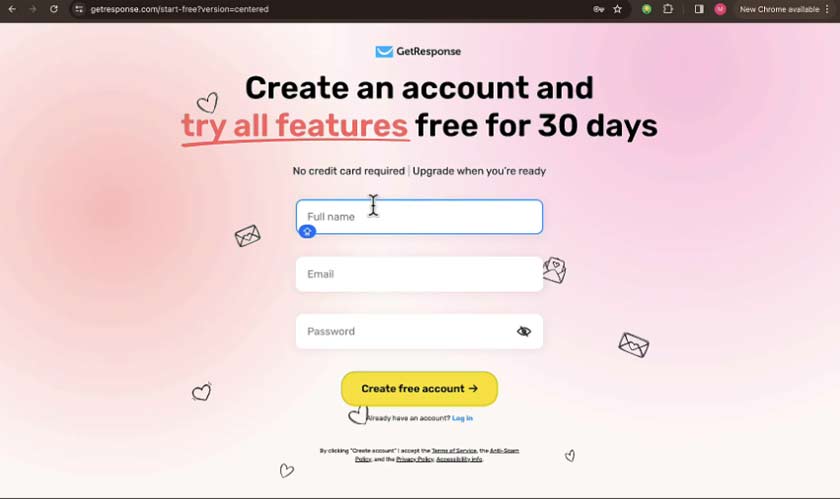
To begin, head over to the official GetResponse website at getresponse.com. You can also use the link provided in the description of this guide to ensure you reach the right page. Once there, you’ll see an option to sign up for free. Click on this button to proceed.

Step 2: Filling Out Your Information
After clicking on the sign-up button, you’ll be directed to a page where you need to input your details. This includes your full name, email address, and a password. It’s important to choose a secure password to protect your account. Remember, you don’t need to worry about upgrading your account right away; you can create a free account and try all features for 30 days.
Step 3: Creating Your Account
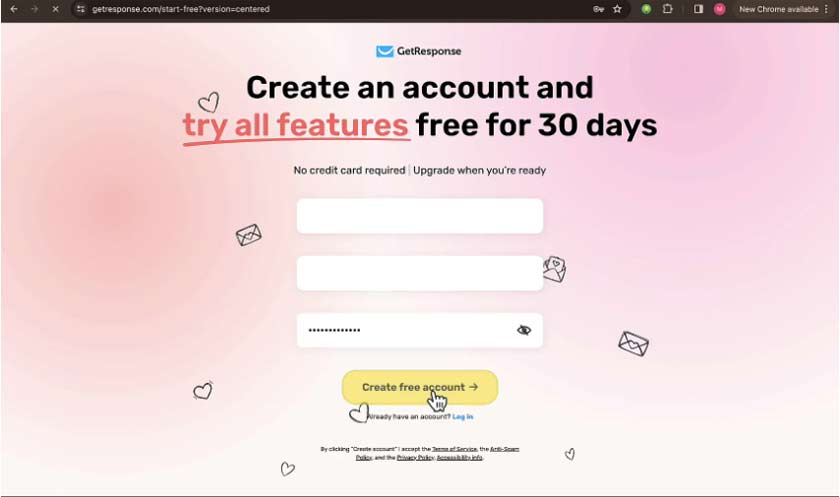
Once you’ve filled out the required information, click on the Create Free Account button. If everything is correct, you will receive a notification confirming that your account has been created. This notification will also mention that an activation email has been sent to your inbox.
Step 4: Activating Your Account
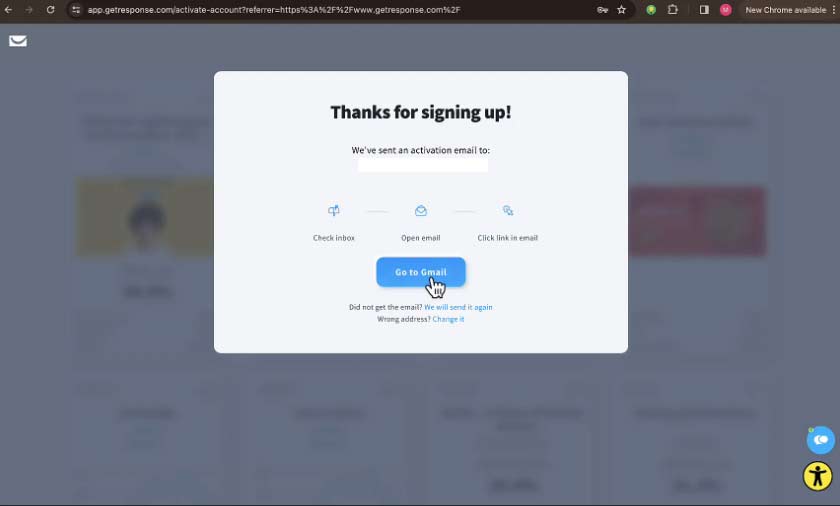
Next, check your email for the activation link. If you don’t see it in your inbox, make sure to check your spam or junk folder. If the email is not there, you can click on the option to resend the activation email. Once you locate the email, click on the activation link to activate your account.
Step 5: Completing Your Profile
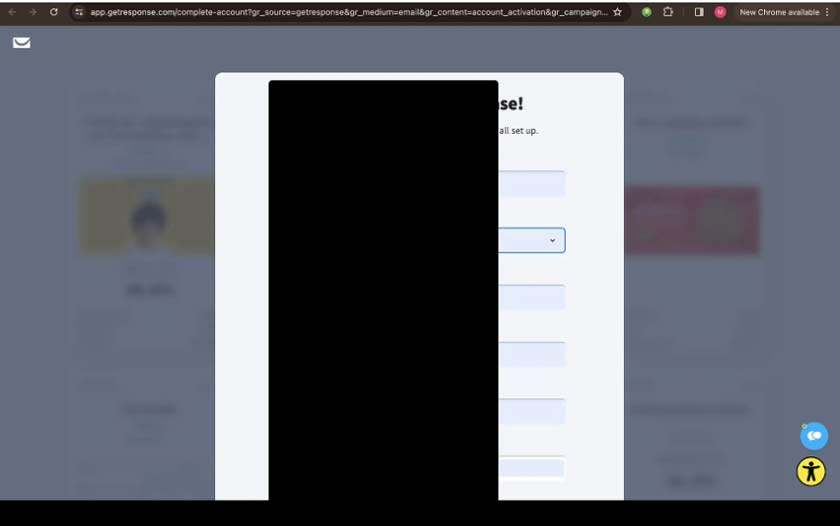
After activating your account, you may be prompted to provide additional information such as your company name and other details. This step is optional, but providing accurate information can help GetResponse tailor its services to your needs.
Step 6: Exploring GetResponse Features
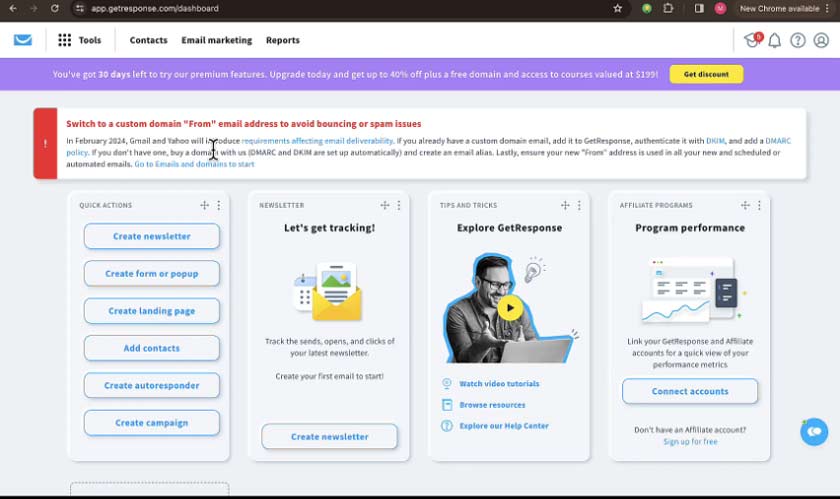
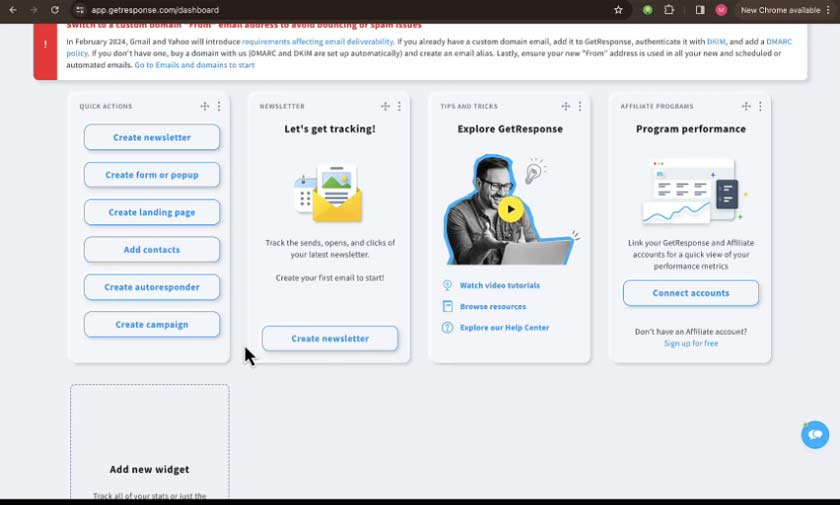
Once you’ve completed the initial setup, you’ll be taken to your GetResponse dashboard. Here, you can explore the various features available to you. GetResponse offers a range of tools, including autoresponders, campaign creation, newsletter management, and more. Take your time to familiarize yourself with the interface.
Step 7: Understanding Pricing Plans
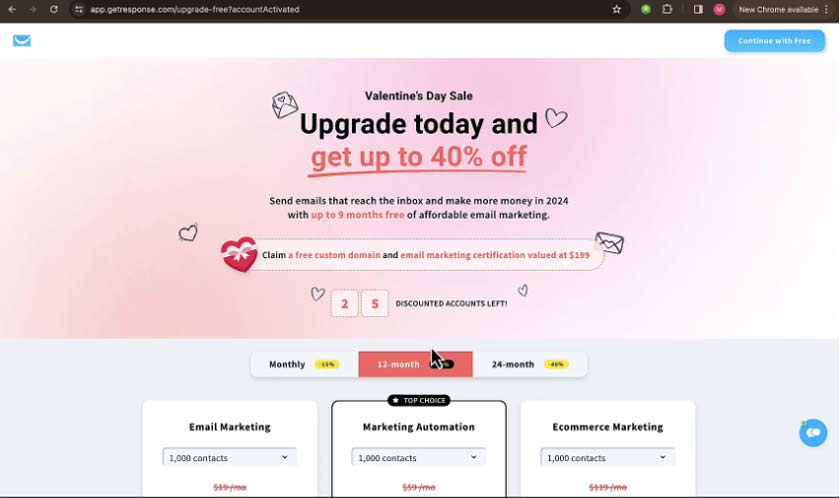
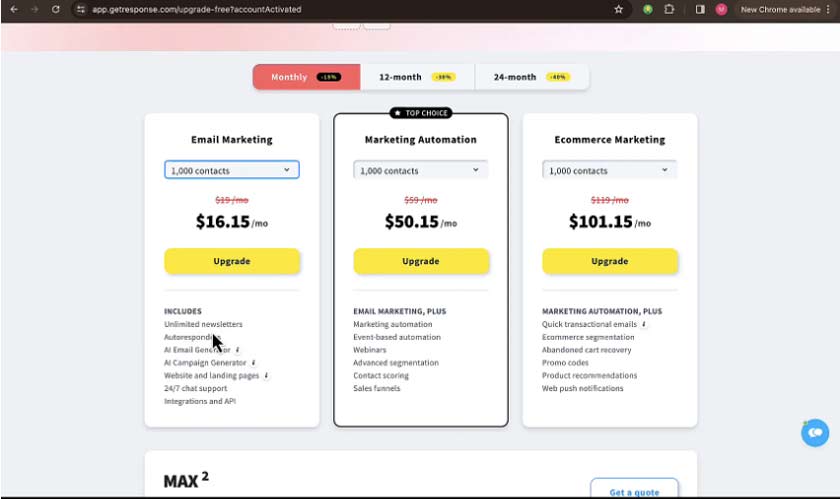
If you decide to upgrade your account after the free trial, GetResponse offers several pricing plans based on the number of contacts you have. For example, the monthly plan for up to 1,000 contacts is priced at $165. Make sure to review the features included in each plan to find the one that best suits your needs.
Step 8: Custom Domains and Email Settings
To ensure your emails reach your subscribers’ inboxes, consider using a custom domain for your email address. By doing this, you can avoid issues with emails being marked as spam. This is particularly important if you plan to use your personal email for sending marketing communications.
Step 9: Getting Started with Your First Campaign
Now that your account is set up, you can start creating your first email campaigns. GetResponse provides various templates and tools to help you design effective emails. You can also integrate GetResponse with your website to capture leads and manage your email lists seamlessly.
Choosing Your Path: Pricing Plans and Features
The journey continues as we venture into the realm of pricing plans and included features. You’ll marvel at the diverse options available, catering to varying needs based on features and contacts. Be it marketing automation, e-commerce marketing, or essential email marketing tools, GetResponse has it all, with the added bonus of frequent questions and a free account option to satiate your curiosity without any cost.
Mastering the Art of Deliverability
Amidst the magic of the features lies the secret to optimizing deliverability – using a custom email domain. This charm can ward off the evil clutches of spam filters, allowing your messages to reach their intended targets unscathed. With features like autoresponders, campaign creation, and seamless website integration, GetResponse empowers you to craft and deliver messages with precision.
Conclusion
Following these steps, you’ll have your GetResponse account set up and ready to use in no time. It’s a straightforward process that opens up a world of possibilities for your email marketing strategy.

